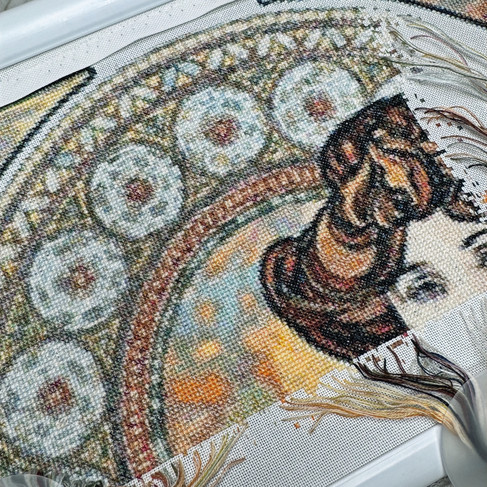
If you’re embarking on a cross-stitch chart that uses blended colors, you may be wondering, “How the heck do I organize all these blended threads?” Trust me, I’ve been there! That exact question ran through my mind when I kitted up my first Scarlet Quince cross-stitch project. Whether you’re tackling a Theresa Wentzler design full of blended threads or a smaller project with just a few here and there, these tips and tricks will help you stay organized and make the process a lot smoother.
What Are Blended Threads?
Blended threads are when a single symbol on a chart represents two different floss colors.

To create this effect, you take one strand from each of the called-for colors and combine them together. While blending threads can be a little time-consuming, the final result is absolutely stunning, adding depth and richness to your piece that’s well worth the effort.


Stitching Tips for Blended Threads
The easiest way to work with blended colors is by stitching with an even number of strands. This lets you evenly mix the two colors on your needle. If you’re working with a single strand on higher-count fabric, you can alternate the colors. For example, complete the first half of your stitch (/) with the first color and finish the top half (\) with the second color.
When stitching with an even number of strands, it’s crucial to ensure your stitches lie flat and aren’t twisted. This ensures the blended colors create the proper effect and look seamless when viewed.
Organizing Blended Threads
When I started my first project with blended colors, I felt completely overwhelmed about how to keep everything organized. After researching online, I was surprised to find very few custom solutions. Some stitchers prefer wrapping the two colors on a single bobbin or placing them together in a floss-away bag. While those methods work, I found them cumbersome and not ideal for easily storing or organizing leftover floss at the end of the project.
That’s when I turned to my favorite organization method: floss drops. Using my Cricut, I designed a custom solution that allowed me to store each floss color individually on its own drop while keeping the blended pair together. This method not only kept me organized but also made it easy to reuse and store leftover floss after the project. I loved the system so much that I decided to offer these custom floss drops in my shop!
Thread Blend Floss Drops: A Custom Solution
When designing my floss drops, I focused on a few key features:
Large Ring Hole: The hole for storing the floss drops on a large ring needed to be big enough. It’s a pet peeve of mine when floss drops snag on the ring’s joints and don’t glide smoothly. My design ensures this won’t be an issue.
Space for Leftover Threads: I always start with the same thread length for consistency, and sometimes I’m left with a long piece after stitching. My floss drops include a generously sized oblong slot to store these leftovers. This makes it quick and easy to grab them for the next section.
Reusable Acrylic Design: My floss drops are made from durable acrylic, so they can be reused again and again. Each set includes blank labels, but you can also write directly on the drops with a Sharpie and erase it later with isopropyl alcohol. There’s plenty of space to note your floss numbers, the color symbol, and even the chart name, making organization a breeze.


Wrapping Things Up
Have you worked on a chart with blended colors? What were your biggest takeaways? If you have any tips or tricks for organizing or storing floss for blended threads, I’d love to hear them! Let me know in the comments below.
Happy Stitching,
Jacquie
Comments